Amiibo Hero AMIIGEN OLED User Guide
AMIIBO HERO AMIIGEN OLED USER GUIDE
So you just got an Amiibo Hero AMIIGEN OLED and not quite sure how to use it?
Well we have the guide for you. We are still working on simplifying the full guide, but we have a Quick Start Guide ready to go, along with the Full Technical Guide. Please do not hesitate to send us an email: [email protected] if you need more assistance!
**Attention**
For a limited time! Leave us a 5 Star Review on Amazon and we will give you 5000 loyalty points or a 10% Credit (refund via your original payment method). Click here to learn more about our Loyalty program.
Just send us a screenshot of your review to redeem!
Quick Start Guide
Step 1: Select Amiibo Database
| Amiibo Hero Main Menu Options |
|---|
| Amiibo Emulator Amiibo Database AmiiboLink BLE File Transfer Settings |
Step 2: Select “Browser”
| Amiibo Database Menu |
|---|
| Browser.. Search… My Favorites… My Amiibo… Settings… |
Step 3: Select The Game Series for the figure you want to Scan
| Browser Menu |
|---|
| The Legend of…. Animal Cros… Monster Hunt… Diablo3…. Super Mari…. |
Step 4: Select the Character
| Browser Menu |
|---|
| 8 Bit Link Bokoblin Daruk Ganondorf Ganondorf – … |
Step 5: Get your Switch ready to scan, and scan the AMIIGEN Amiibo Hero in the same place you would a regular amiibo!
Step 6: Continue scanning or or press the scroll wheel to bring up the next menu.
| Browser Menu | Function |
|---|---|
| Rand. Tag | Randomizes Amiibo serial to allow to avoid scan limit |
| Auto Rand. | On \ Off (Prevents serial number change and losing progress in games like Smash Bros. |
| Favorite.. | Add to favorites |
| Save As.. | Allows you to save amiibo under different name to easily identify for games that save progress |
| [Back to Detail] | Returns to Amiibo detail screen that you were previously on |
| [Back to List] | Returns to List of Amiibo Characters in Series |
| [Exit] | Exits to main menu |
Step 7: This should be enough to get you started! Now see below for the full guide.
Where to Purchase

Common Issues \ Questions
Key Bin File Download
If you are looking for the required key_retail.bin file. It can be downloaded here. Please take note where you download the file! You will need to locate it later to install!
There are several ways to transfer this to your AMIIGEN Amiibo Hero Device
1) Download iNFC App on your IPhone
- Select BLE File Transfer on your AMIIGEN to enter Bluetooth Transfer Mode
- Tap the Gear\Settings icon on the top right of the iNFC App
- Select Pixl.js
- on the App you should see E:/[External Flash] – Tap on it
- Now select the 3 Dot circle at the top.
- Select Upload Files
- It will now open the Files App on your IPhone – Navigate to the folder that you downloaded the key_retail.bin file. It can be downloaded here.
- Once you have selected the file and uploaded it, you should now see it in the E:/ Directory!
- Reboot your AMIIGEN Amiibo Hero just to be sure! – Settings -> Reboot Device
- You should now have the keys loaded.
2) Using your Bluetooth Compatible PC and a Chrome Web Browser
- Select BLE File Transfer on your AMIIGEN to enter Bluetooth Transfer Mode
- Navigate to https://pixl.amiibo.xyz
- Connect to the AMIIGEN
- Start Transfer!
My Device is Frozen
If your AMIIGEN Amiibo Hero is on, but is not responding, please try the following.
- Take a fridge magnet (or other magnetic objects) and cover the device’s screen with the magnetic side. That hard resets the device. This will fix the issue 99% of the time.
- If that doesn’t work. Plug the device into a USB port on your PC. This will trigger a restart.
- If all else fails, send us an email and we will be happy to help! [email protected]
This is an Ad
Full Guide
**THIS GUIDE IS STILL A WORK IN PROGRESS** Please be patient with us as we continue to work on the verbiage to make a more streamline guide.
Using the Firmware
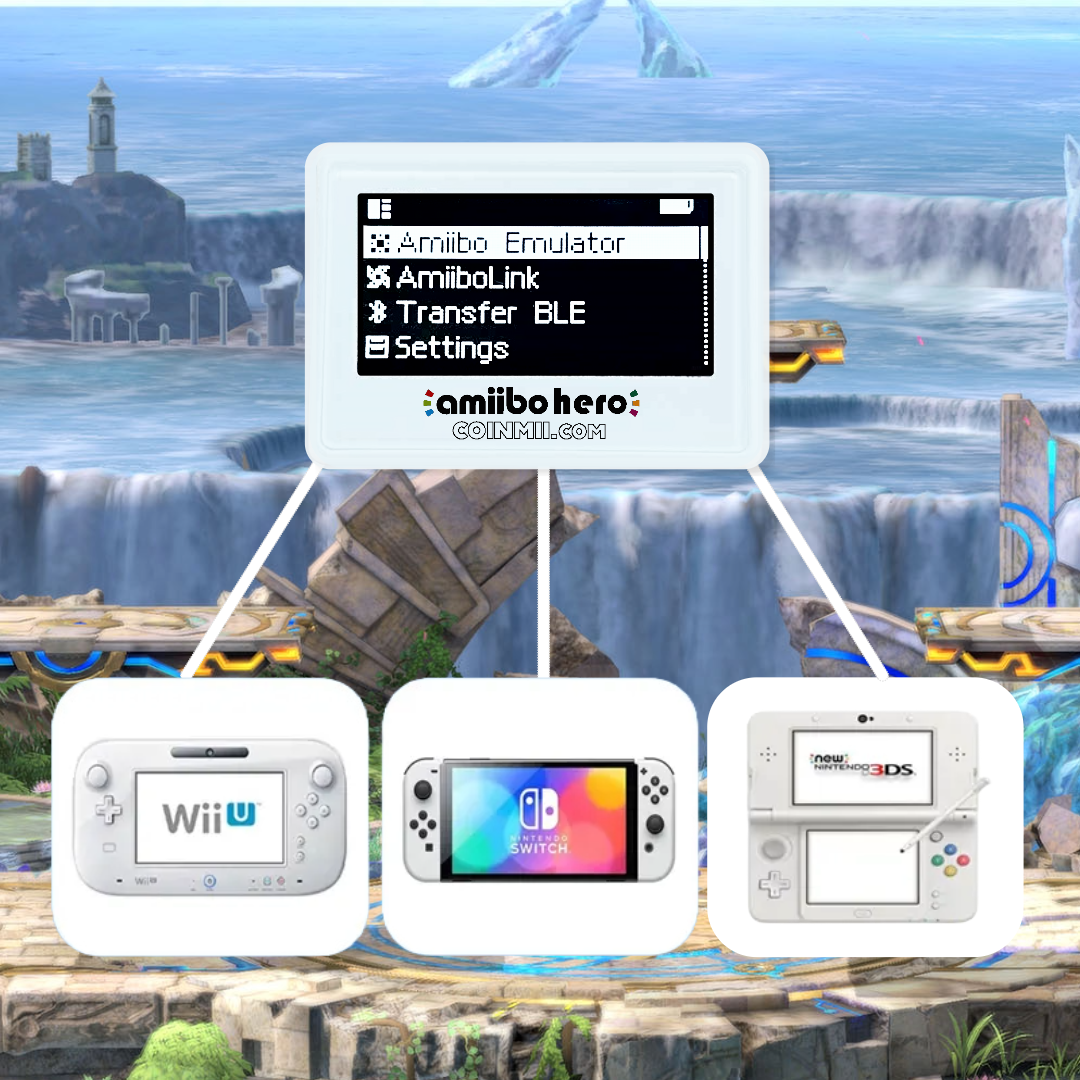
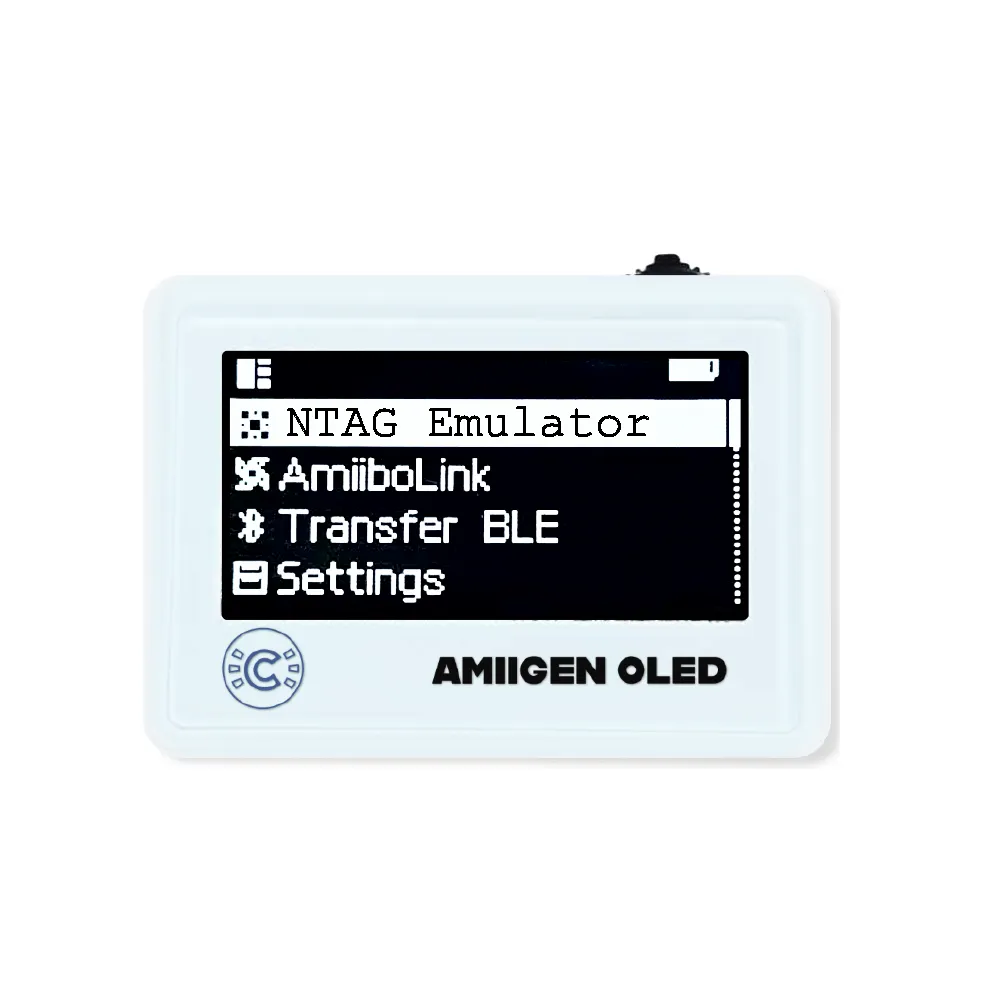
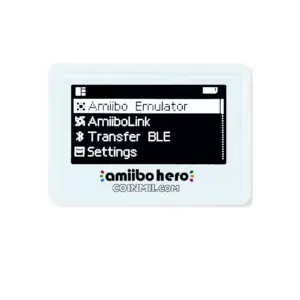
The AMIIGEN Amiibo Hero firmware Main Screen is divided on several Applications, each one can be run to execute some actions, the applications on main screen are:
| Amiibo Emulator Amiibo Database AmiiboLink BLE File Transfer Settings |
Amiibo Emulator
This application allows you to browse local storage for .BIN files and use them as the current amiibo.
You can browse folders and files using the thumbwheel slide dial switch, pushing to the sides you change elements, pushing the middle button you select the highlighted element.
Once you select a .BIN file his data is used like the current amiibo, the screen shows current amiibo details like amiibo current UUID, filename and amiibo name.
Amiibo details screen
You can use side buttons to change the current amiibo with the next or previous one on the current folder. Pressing the middle button you can change the behavior of the current amiibo, on the sub menu:
| Rand. Tag Auto Rand. Delete Tag Back to Tag Details Back to File List Back to Main Menu Rand. Tag |
Randomize Tag.
Changes the current UUID presented to game to current amiibo. The new UUID stays in place until you change the current amiibo or select this option again.
Auto Rand. (Automatic Random)
Turning ON this feature, will generate a new random UUID for the current amiibo each time a game read it. Allowing to use the same amiibo multiple times on games with restrictions.
Delete Tag
Delete the file associated to current amiibo.
Back to Tag Details
Returns to the details of the current amiibo.
Back to File List
Returns to the file list of current folder.
Back to Main Menu
Exit the amiibo emulator application.
If you enable UUID random generation, manually or automatic the original UUID of the .BIN file is used the next time that file is loaded.
File explorer.
If you have highlighted a folder or a file and you press and hold the middle button for 1 second a properties sub menu is open:
This is an Ad
| Create New Folder… Create New Tag… Rename… Delete… Back to File List Back to Main Menu |
Create New Folder…
Dialog to create a new sub folder on current one.
Create New Tag…
Creates a blank amiibo .BIN file on the current folder. That .BIN file is now a simil of a New Ntag215, ready to be programmed, you can assign that .BIN file as current amiibo and using a NFC programmer you can write the amiibo data, by example you can use iNFC or Tagmo for phones, Thenaya for the 3DS. If the programmed amiibo is on the database the .BIN file is even renamed to the name of the amiibo.
Rename…
Dialog to rename highlighted .BIN file or folder
Delete…
Remove highlighted object, asking for confirmation. If is a folder, all subfolders and files are deleted too.
Back to File List
Returns to the file list of current folder.
Back to Main Menu
Exit the amiibo emulator application.
If you have highlighted a storage the properties sub menu is different:
| Storage Status Total Space Free Space Format… Back List Back to Main Menu |
Storage Status
Shows the current status and type of the storage, by example:
=====Not Mounted=====
===Mounted[LFS]===
===Mounted[FFS]===
Total Space
Shows total space of the mounted storage on KB.
Free Space
Shows the actual free space of the mounted storage on KB.
Format…
Ask confirmation for formatting the current storage, WARNING ALL DATA WILL BE LOST!
Back to File List
Returns to the file list of current folder.
Back to Main Menu
Exit the amiibo emulator application.
Amiibo Database
This application allows the emulation of amiibo from the list of well know ones, using legally available information like the model info, then when you select one, a new virtual amiibo is created on memory using a random UUID. In order to use this application you must to provide your «key_retail.bin» file.
Each time one an amiibo is used the initial UUID is random generated.
Once you open the application the main menu have the options
| Browser… Search… My Favorites… My Amiibo… Settings… |
Browser…
Let you browse the database, first by category, then all amiibo on that category. After you select an amiibo, the details are shown, the first line contains the actual UUID and second line the amiibo name.
On the amiibo details page you can use the side buttons to navigate through all the amiibo on the category, if you press the middle button you can change the behavior of the current amiibo, with the sub menu:
| Rand. Tag Auto Rand. Favorite… Save As… [Back to Details] [Back to List] [Exit] |
Rand. Tag
Randomize Tag, changes the current UUID presented to game to current amiibo. The new UUID stays in place until you change the current amiibo or select this option again.
Auto Rand.
Automatic Random, Turning ON this feature, will generate a new random UUID for the current amiibo each time a game reads it. Allowing to use the same amiibo multiple times on games with restrictions.
Favorite…
Open a new submenu to manage Favorite folders. You have the options:
New…
Folder1
Folder2
[Back]
New… allows you to create a new Favorites folder, Back go back to current amiibo details, if you select an existing folder, that amiibo definition will be added to selected folder.
Save As…
Allows you to assign the current amiibo to one of the «My Amiibo» slots.
[Back to Details]
Returns to the details of the current amiibo.
[Back to List]
Returns to the amiibo list of current category.
[Exit]
Exit the Amiibo Database application.
Search…
Allows to search the database using partial name, the search result is like a category, you can select any amiibo on it and set it like another one.
My Favorites…
Display the existent favorites folders, you can browse them with side buttons and select one with middle button. If you press and Hold the middle button a sub menu is open:
| New… Empty… Delete… [Back] |
New…
Allows you to create a new favorites folder.
Empty…
After confirmation, removes all amiibo associated to the selected folder.
Delete…
After confirmation, removes the favorite folder.
[Back]
Returns to Folder list.
Once you select a folder a list of the associated amiibo to that favorite folder is shown, you can browse using side buttons and select an amiibo with middle button, the selected amiibo becomes the current one, and behave like an amiibo of the browser.
My Amiibo…
List the configured slots, you can browse the slots using side buttons, select one with middle button and the amiibo associated to that slot becomes the current one.
If you press and hold middle button a sub menu with the option of reset the slot is shown allowing to empty the slot.
Settings…
The settings menu show you the Keys status and number of slot set up.
| Keys [] Slot Num. [] [Back] |
Keys []
Show the status of the «key_retail.bin» file, can be «Loaded» or «NOT Loaded»
Slot Num. []
Allows to select how many slots are available to «My Amiibo» section, values from 10 to 50 on tenths increments.
[Back]
Exit the Amiibo Database and returns to Main Menu.
AmiiboLink
This application emulates an AmiiboLink (AmiLoop or omllbolink) device.
These devices are generic espruino boards sell on different forms, normally are Keychains drop shaped, but also there are some Puck or Sheika Slate shaped.
Almost all have a button and some LEDs as indicators and runs from CR2032 cell batteries or lipo cells.
All of them are controlled from phone applications via Bluetooth, also you can upload one or several .BIN amiibo files using the phone to the device.
Starting this application the details for current amiibo are shown. If you are on sequential mode you can use the side buttons to walk through all the uploaded amiibo, in all modes, you can press the middle button to open the AmiiboLink APP config sub menu, the menu have this items:
| Mode [] Auto Random. [] Compati. Mode [] Tag Details [Main Menu] |
Mode []
Shows the actual operation mode, when selected you can choose the mode of amiibo working, the available modes are:
On the actual AmiiboLink device the current amiibo changes the UUID when you press the device button
A new random UUID for the current amiibo is generated after each time a game read it. Allowing to use the same amiibo multiple times on games with restrictions. You cannot change the active amiibo on this mode.
On this mode you can change the actual amiibo using the side buttons, rolling through all amiibo uploaded with the phone app. All uploaded .BIN files are stored on the 01.bin to 26.bin files at the /amiibolink/ folder.
The device use a “special” amiibo slot where only an amiibo can be used, the amiibo can be replaced by another .BIN file from the phone app. On the local storage this amiibo is saved with at the /amiibolink/99.bin file.
Changing the mode preserve the current selected amiibo, with exception of «Read-write mode».
Auto Random. []
When this option is turn ON a new random UUID for the current amiibo is generated after each time a game read it. Allowing to use the same amiibo multiple times on games with restrictions. You cannot change the active amiibo on this mode. Cannot be turned OFF for «Randomize (Auto)» mode, cannot be turned ON for «Randomize (Manual)»mode;
Compati. Mode []
Shows the emulation firmware mode, the supported values are V1, V2 and AmiLoop, there are several APPs each one designed for a AmiiboLink firmware version or to the AmiLoop protocol. Using this setting you can match the emulation with the protocol needed by the APP you use on your phone.
Tag Details
Return to amiibo details page
[Main Menu]
Exit the AmiiboLink Emulator application.
AmiiboLink Compatible Applications
So far the only two AmiiboLink/AmiLoop mode manager phone Apps are translated to English, they are “Umiibo” and “AmiLoop” this applications are compatible only with the AmiLoop Mode.
Other oddity is what the modes on applications do not correspond with the modes set up on the device.
| Umiibo APP | AMIIGEN Amiibo Hero Emulation Mode |
|---|---|
| Manual Mode | Random automatic |
| File Mode | Sequential |
| Auto Mode | Read/Write |
| AmiiLoop APP | AMIIGEN Amiibo Hero Emulation Mode |
|---|---|
| Manual Mode | Random automatic |
| File Mode | Sequential |
| Auto Mode | Read/Write |
Card Emulator
This application can be used to emulate Mifare cards and NTAG series cards.
Mifare cards are commonly used for access control cards, and the device can fully emulate Mifare types of cards. Supported Mifare card types include:
- Mifare Mini
- Mifare 1K
- Mifare 2K
- Mifare 4K
NTAG series cards are commonly used for device identification. Supported NTAG card types include:
- NTAG 213
- NTAG 215
- NTAG 216
Currently, a total of 8 cards are supported, with the option for customizing the number of cards in the future.
Note:
The emulation function of the NTAG series is still in testing, and the functionality is not yet complete. It does not fully emulate > the features of NTAG125.
Further improvements to this part of the functionality will continue.
Emulation can only be activated in this interface, and it will be deactivated if you leave this interface.
After disk formatting or the first entry into the card emulator, data will be initialized. This process may take a few seconds, so please be patient.
Card Emulation
The interface of the card emulation page is as follows:
| [01] de:ad:be:ef |
| |
| < Slot 01 > |
| |
| MF 1K <08/04 00> |
The interface is explained as follows:
- The first line:
01is the card number, andde:ad:be:efis the card ID. - The second line: Slot 01 is the name of the current card, which can be freely set.
- The third line:
MF 1Kdisplays the card type. The type abbreviations are shown in the table below.08is the card’s SAK,04 00is the card’s ATQA. The last symbol indicates the writing mode. If it is marked as a disk, writing is allowed; otherwise, writing is not allowed. Abbreviations for card types:
| Display Name | Card Type | Data File Size |
|---|---|---|
| MF mini | Mifare Mini | 320 |
| MF 1k | Mifare 1K | 1024 |
| MF 2k | Mifare 2K | 2048 |
| MF 4k | Mifare 4K | 4096 |
| N213 | NTAG 213 | 180 |
| N215 | NTAG 215 | 540 |
| N216 | NTAG 216 | 924 |
Main Menu
Pressing the middle button allows you to enter the main menu. As follows:
| Slot [01] |
| Nick [Slot 01] |
| ID [de:ad:be:ef] |
| Type [MiFare 1K] |
| Data.. |
| Advanced.. |
| Slot Settings.. |
| [Tag Details] |
| [Main Menu] |
- Slot: Displays the current selected card slot. You can select a card slot by pressing the middle button.
- Nick: The current name of the card. Pressing the middle button can enter the card name setting interface.
- ID: Displays the current card ID.
- Type: Displays the current card type.
- Data: Pressing the middle button can manage card data.
- Advanced: Pressing the middle button can enter advanced card settings.
- Slot Settings: Pressing the middle button enters the slot management interface, where you can enable or disable card slots.
- [Tag Details]: Returns to the tag details page.
- [Main Menu]: Exits this application and enters the main menu.
Special Note::
Some modifications need to be saved to storage when exiting to the tag details. If you have modified some configurations, be sure to enter the tag details page to save them.
Nick Update
In this interface, you can modify the name of the card.
Due to limited display space, only English characters can be entered.
In particular, if using Chinese characters, due to UTF-8 encoding, deletion requires at least 2 presses to completely delete.
If you want to add Chinese notes to the card, you can modify the notes of /chameleon/slots/00.bin through the webpage to achieve Chinese notes.
00.bin is the file for the first card slot, 01.bin is the file for the second card slot, and so on.
Due to firmware size limitations, currently only around 1000 Chinese characters can be displayed properly. If Chinese characters are not displayed, please raise an issue with the characters you need to display. Specific characters can be added in the next version.
Card Data
In this interface, you can perform the import and export of card data.
| Load.. |
| Save.. |
| Factory.. |
The import and export files are stored in the /chameleon/dump/ folder.
If you need to import data, you need to write the data file you want to import to the above folder through the webpage in advance.
- Load: Pressing the middle button allows you to enter the load interface. The interface will read all files under
/chameleon/dump/, and pressing the middle button can perform the import. - Save: Pressing the middle button allows you to export the current card to the
/chameleon/dump/folder. - Factory: Pressing the middle button allows you to reset the current card data to the default built-in empty card data.
The file size loaded must be exactly the same as the current card type to be imported. The data file size for different cards refers to the table in the
Card Emulation.
Advanced
This interface displays different content based on MiFare series cards and NTAG series cards.
Special Note:
This interface is the advanced settings for card emulation, and it is not recommended for ordinary users to modify. If you intend to make changes, please make sure you understand what you are doing before modifying!
If modifying this part leads to card emulation failure, try restoring default settings first.
MiFare Series
| Custom Mode [OFF] |
| ID [de:ad:be:ef] |
| SAK [08] |
| ATQA: [00 40] |
| Gen1A Enabled [OFF] |
| Gen2 Enabled [OFF] |
| Write Mode [Normal] |
| [RETURN] |
- Custom Mode: Default is off. Off: During the ID card recognition phase, ID/SAK/ATQA are read from sector 0 of the card data. On: You can set independent resources in the ID/SAK/ATQA menu below.
- ID: Displays the current card ID. If the custom mode is on, pressing the middle button allows you to enter the input interface for modification. If the custom mode is off, pressing the middle button has no effect.
- SAK: Displays the current card SAK. If the custom mode is on, pressing the middle button allows you to enter the input interface for modification. If the custom mode is off, pressing the middle button has no effect.
- ATQA: Displays the current card ATQA. If the custom mode is on, pressing the middle button allows you to enter the input interface for modification. If the custom mode is off, pressing the middle button has no effect.
- Gen1A Enabled: Default is off. When enabled, allows the emulator to respond to domestic advanced backdoor commands. These backdoor commands can directly unlock the card without the need for a key.
- Gen2 Enabled: Default is off. When enabled, allows writing to sector 0. (Sector 0 mainly stores information such as ID/SAK/ATQA, and allowing writing can modify the card’s ID)
- Write Mode: Default is normal. There can be 4 values, see the table below.
| Write Mode | Description |
|---|---|
| Nromal | Data is written normally to memory, switch card or exit to persist |
| Deny | Any write operation returns failure |
| Ingore | Write operation returns success, but does not write to memory or persist |
| Cache | Data is written normally to memory, switching cards or exiting does not persist |
It is recommended to enable Gen1A mode and Gen2 mode when copying cards, and close them after copying to avoid being recognized as a clone card by card readers.
NTAG Series
| ID [04:68:95:71:fa:5c:64] |
| SAK [00] |
| ATQA: [00 44] |
| Rand. UID |
| [RETURN] |
- ID: Displays the current card ID. Not editable.
- SAK: Displays the current card SAK. Not editable.
- ATQA: Displays the current card ATQA. Not editable.
- Rand. UID: Pressing the middle button can randomly generate a new ID. Note that you need to return to the emulation interface to simulate and save the new card ID.
Slot Settings
This interface displays the enable/disable status of all card slots and allows you to individually enable or disable each card slot.
| Slot Num.. [8] |
| Slot 01 [ON] |
| Slot 02 [OFF] |
| .. |
| [RETURN] |
- Slot Num: Displays the current number of card slots, which is default set to 8. Currently, the modification of the slot quantity is not supported, and it will be available in future firmware updates.
- Slot xx: Displays the open/close status of the card slot. Pressing the middle button can toggle between open and close status.
BLE File Transfer
This application allows you to connect the iNFC or the AMIIGEN Amiibo Hero web page, to manage files on the device storage or update the firmware.
The official web page is https://pixl.amiibo.xyz/.
The iNFC APP is a third party APP
Entering this mode the Bluetooth MAC address of device and official URL are shown at the screen.
Settings
This application allows to configure the device working settings, the application have the next items on the menu:
| Version [] Language [] Auto Storage [] Backlight / OLED Contrast [] Menu Animation [] LiPO Battery [] Memory Used [] Fast Resume [] Sleep Timer [] Firmware Update System Reboot |
Version
This submenu shows the version details of the firmware.
- Version
- Build date
- Githash
- Branch
- Target
- Dirty
Language
You can change the language displayed on the device
Auto Storage
Turning ON this setting the local storage(s) of the device are hidden on the root of the Amiibo Emulator application, if this setting is OFF the «External Flash» object is shown at the root of the Amiibo Emulator application.
Backlight / OLED Contrast
With this setting you can control the brightness of the LCD screen or the contrast of the OLED screen.
Menu Animation
Enable / disable the animation of items larger than screen allowing to read them completely, enabling this option increase the battery consumption.
LiPO Battery
Enable the use of a LiPO battery. It requires an hardware mod. If you build a LiPO version of AMIIGEN Amiibo Hero device, you can enable this option. For CR2032 version, this option will not work and should not be enabled.
If you enable LiPO option, the device will use LiPO voltage level to display the battery level, and also can display a charge label when the battery is in charge mode.
Memory Used
Shows the % used storage memory at the bottom of the screen
Fast Resume
Enables hibernation of device, allowing a quicker response of the reading of the current amiibo by a game, and resume to the application open at the moment of sleep, when disabled the resume after sleep takes 1 second more and the device restore to the Main Menu.
Sleep Timer
Set the time when the device go to sleep after the last user input or amiibo read.
Firmware Update
This option put the device in the DFU mode, allowing OTA firmware update, you can update the firmware using the iNFC or the web page.
You can go to the URL https://thegecko.github.io/web-bluetooth-dfu/ to upload the firmware, this page also can be open through the official site https://pixl.amiibo.xyz/
System Reboot
Allows you to reboot the device and get back to the state after you remove and put the battery.

